Which troll item is the best?
There is no universal best. The jumpscare is strongest at close range, the flash bang is strongest against a committed route, and the screen shake is strongest when the seeker is comparing fine details.
Disruption
The three disruption tools are timing weapons. Used late, they protect a good blend; used early, they waste the round.
Updated
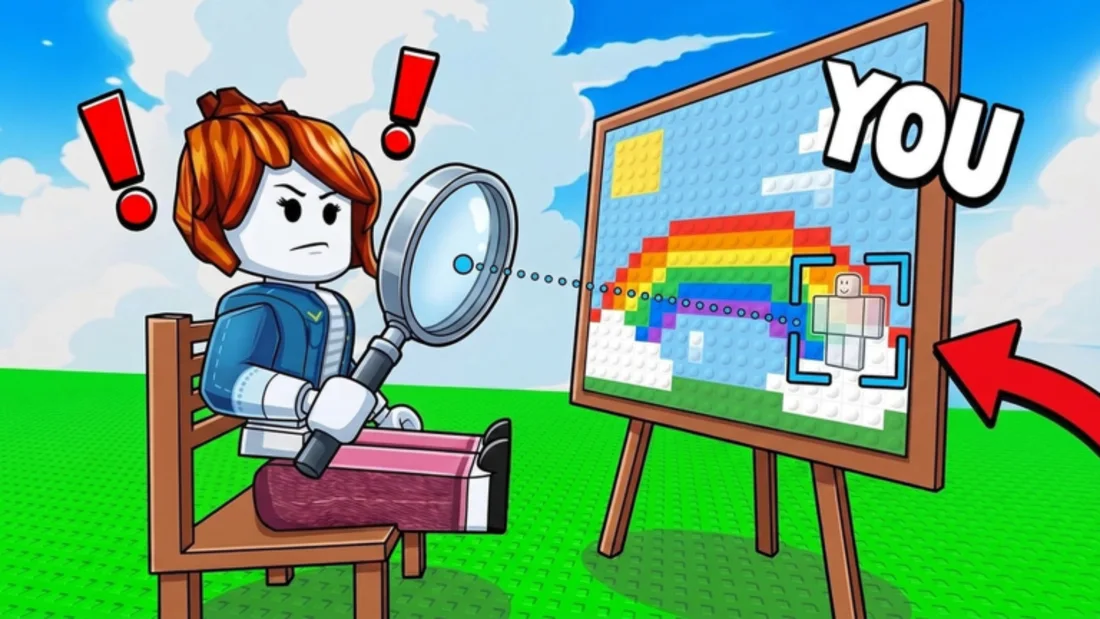
Hide In Pixels lists three disruption tools in its official description: jumpscares, flash bangs, and screen shakes. They are not attacks and they do not reveal the seeker's position. They interrupt attention. That distinction matters because a player who expects an item to save a bad hiding spot will use it at the wrong moment and lose anyway.
A jumpscare is the most direct interruption. It is designed to make the seeker flinch or lose their place in the painting. A flash bang is a visual disruption, useful when the seeker is scanning a row of shapes and needs to be pulled out of that scan. A screen shake moves the view, which is strongest when the seeker is trying to compare fine details.
The exact duration and cooldown of each item are not published in the official description. Treat the timings in this guide as practical advice rather than frame data. The right moment depends on how close the seeker is and how committed they are to the area they are checking.
Early use is almost always a waste. If the seeker is still crossing the room or checking the frame, an item does not change the decision they are about to make. It only tells them that someone nearby is nervous. A nervous player is easier to find because the seeker will slow down and inspect the area more carefully.
Mid-use is situational. If the seeker is walking toward your half of the painting but has not started checking individual shapes, a screen shake can make them lose their route. If they are already looking at your row, a flash bang can break the comparison. This is the window where an item has the best chance to change the outcome without giving away your exact position.
Late use is the safest default. When the seeker is close enough that a normal blend might not survive a second look, an item can buy the one second you need to stay still. The risk is that a late item is also the most obvious. If the seeker is staring at your spot, a jumpscare will confirm that the spot is worth staring at. Use late items before the seeker locks on, not after.
| Window | Best item | Why it works |
|---|---|---|
| Early (seeker far) | None | No decision to interrupt; the item only signals your presence |
| Mid (seeker approaching) | Screen shake or flash bang | Breaks the route before the seeker commits to a row |
| Late (seeker close) | Jumpscare | Interrupts a close inspection when the blend is already good |
The jumpscare is the item most players reach for first, and it is also the one most often wasted. Its value comes from surprise. If the seeker expects it, the flinch is smaller and the recovery is faster. That is why the best jumpscare is not the first one in the round; it is the one that arrives after the seeker has settled into a search pattern.
Use it when the seeker is close enough to be startled but not close enough to be certain. If they are already looking directly at your character, the jumpscare cannot undo the recognition. If they are one step away and still comparing shapes, it can make them back off and restart the scan.
After the jumpscare, do not move. The item has bought you a moment; moving spends it immediately. Stay frozen and let the seeker's disrupted route carry them away from your spot.
A flash bang is strongest when the seeker is committed to a direction. If they are sweeping left to right, the flash interrupts the sweep. If they are standing still and thinking, the flash gives them a reason to start over, which can be worse for you. The item works on motion and rhythm, not on a stationary decision.
The best moment is usually a few seconds after the seeker enters your area. They have picked a route and started checking shapes, but they have not reached yours. The flash makes the route harder to resume and gives you a chance to be the shape they skip.
Do not use a flash bang as a panic button when the seeker is already at your spot. At that range, the disruption is short and the seeker's memory of where they were looking is still fresh. You are better off staying still and hoping the blend holds.
The screen shake is the subtlest of the three. It does not startle the way a jumpscare does, and it does not blind the way a flash bang can. What it does is make fine comparison harder. If the seeker is trying to decide whether a block belongs in the painting, a shake interrupts that comparison for a moment.
Use the shake when the seeker is checking a busy area with a lot of small shapes. That is where the eye needs stability, and that is where the shake has the most effect. In a flat part of the painting, the seeker can recover quickly because there are fewer details to re-check.
The shake is also a good choice when you are not sure whether the seeker has seen you. It is less provocative than a jumpscare and less obvious than a flash bang. If the seeker was about to move on, the shake may not change anything; if they were about to lock on, it may break the lock.
The first counter is pace. A seeker who moves in a steady, deliberate order is harder to disrupt than one who rushes. When an item lands, do not restart the entire search. Return to the last shape you were sure about and continue from there. The item is designed to make you lose your place, so the counter is to keep a place to return to.
The second counter is to expect the item at the moment you commit. Players use items when the seeker is close and the blend is at risk. If you are approaching a suspicious shape, assume an item is coming and keep your camera steady. A flinch is natural; a full route reset is a choice.
The third counter is to check the edges first. Troll items are most effective when the seeker is comparing fine details inside the painting. If you check silhouettes and boundaries first, you are looking at the information the item cannot hide. A jumpscare does not remove an outline.
Do not use an item before you have a blend worth protecting. The item is a multiplier on a good hiding spot, not a replacement for one. If your outline is obvious, the seeker does not need a clean look to find you; they only need a general direction.
Do not use an item when the seeker is far away. It tells them that someone is in the area and gives them more time to search it. Do not use an item after the seeker has already seen you. At that point, the item cannot undo the recognition, and it may confirm that you are the shape they suspected.
Do not use all three items in one round unless the round is already chaotic. Each item is a separate interruption, and using them back-to-back gives the seeker a clear signal that you are nearby and out of options. One well-timed item is usually stronger than three panicked ones.
FAQ
There is no universal best. The jumpscare is strongest at close range, the flash bang is strongest against a committed route, and the screen shake is strongest when the seeker is comparing fine details.
They do not mark you directly, but using one tells the seeker that someone nearby feels threatened. That can narrow their search even if it does not show your exact spot.
Save it for the moment it can change a decision, not for a specific round. A well-timed item in round one can be worth more than a panicked item in round three.